
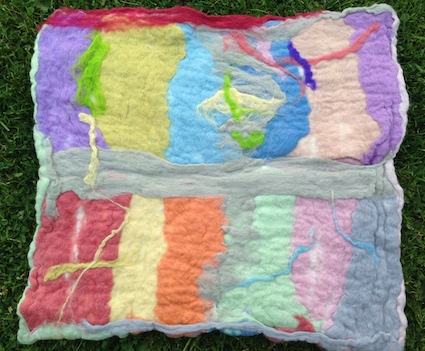
Previously I blogged about making felt seats. These items are lightweight and portable and thus ideal for many outdoor activities on the go. I’ve continued to experiment with them. My first attempts were rough and I learned a lot through trial and error. The above photo is my next effort and I think the process I’m using is improving. I think it’s better for those working with children at the early level who may not have the stamina or strength to create a full-size seat on their own. Likewise if you work with older children with poor dexterity, limited concentration or other needs that mean they find making a full-sized felt seat too much, then this may also work well.
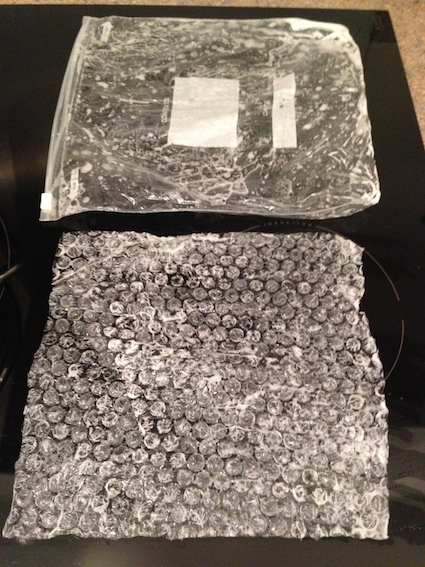
Firstly rather than making one big felt seat, I begin the process using the ziplock bag approach. This is easier on the hands and arms and quicker work. You need a piece of bubble wrap too, cut to fit inside the bag.
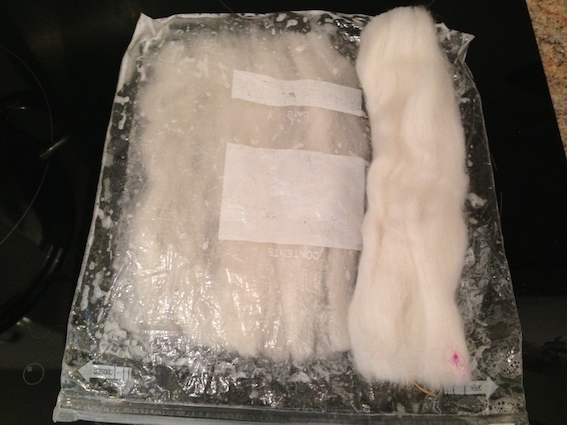
Next, I cut white merino wool tops and laid them out so that all the strands of wool run the same way. I overlap the wool tops so that they felt together to make the mat. The white base layer is really helpful for two reasons. First white wool is cheaper than dyed wool. Second it means I can see whether the colour covers it all in subsequent layers.
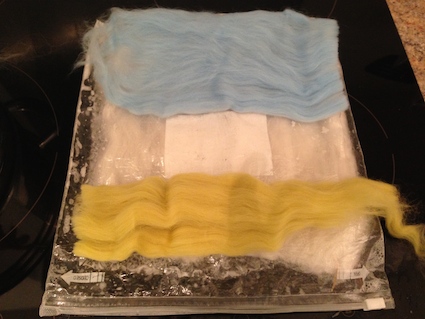
Next I add one layer of colour, with the wool strands going vertical. After this I add a mixture of hot water and soap. I try and use biodegradable soap or detergent. In the past I don’t think I had the water hot enough. I now add water that is hot to touch rather than warm. It seems to help.
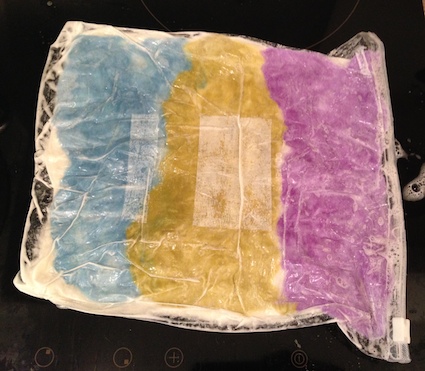
Then I do a very light touch felt. This is known as a pre-felt. I roll the bag up, squeeze the felt four times in different directions so that the wool fibres just begins to bond together but no more. I made four squares as illustrated below:
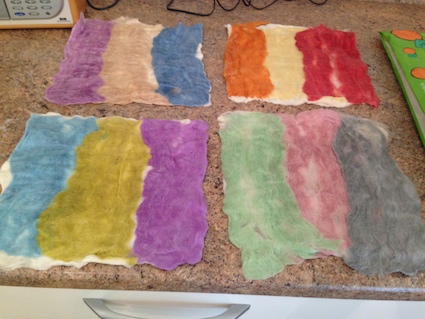
This is why it works for little children. The amount of felting is limited that they have to do. But their work feeds into the larger seat.
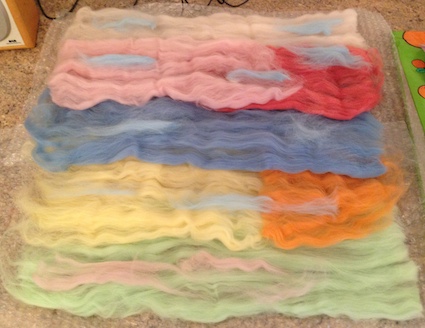
The next stage was to felt these squares together. I flipped them over so that they were on their white base with all the white wool fibres running vertically. Then I added layers of horizontal colour, ie in the opposite direction to the white base fibres. I dampened them down in place with hot water and soap and a little bit of rubbing.
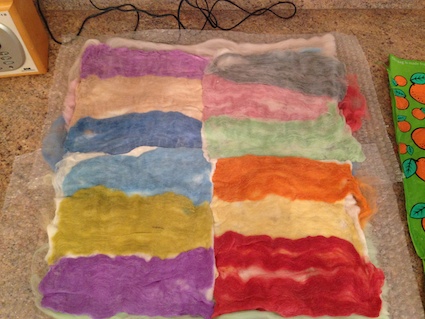
Then I flipped the large mat over and added more strands of wool to seal the joins between the pieces. Also I tried to fill add more wool strands to any white gaps that could be seen.
I then went through the process described in the original post. Again, I kept the water hotter than before and added more water than originally advised. I made an effort to keep the edges tidy and between each bit of kneading and rolling I opened up the bubble wrap to inspect and make adjustments. Then I washed the mat and left it to dry outside.
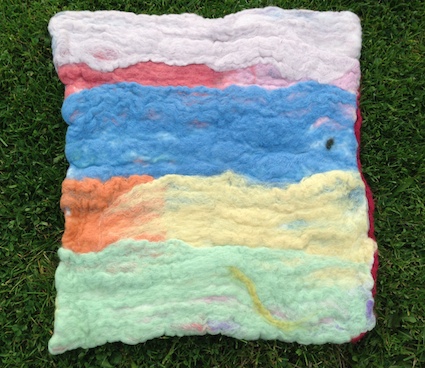
My seat definitely was more robust, felted and tidy compared to previous attempts and beginning the process in a zip locked bag seemed to make a big difference. Making a large seat has been much more manageable. The first photo shows the joins which have definitely been worked nicely into the felting.
The one down side of using merino wool tops is the cost. I reckon the above cost me £5 to make. But they do last well, Much longer than the foam seats which silently say to children “Go on. Pick at me. You know you want to.”. But if you make a few seats year on year in nursery, then the collection will be built up.
- For more cost effective seating have a look at my posts about peg loom weaving and making peg loom mats.
- If you are working with Y4 and older then going for the felt seat making method in this blog post is quicker and more economical.
This post was originally published in August 2014.


Trackbacks/Pingbacks