
Do you have a growing collection of charity bags which get popped through your door each week? If you do, and you don’t have any particular plans for them, perhaps it’s time to put them to good use as outdoor dance items.
Several years ago I was facilitating an outdoor dance course with a wonderful dance development officer, Linzi McLagan who at the time worked at City Moves in Aberdeen. We thought it would work well as a joint effort – Linzie’s dance background combined with my passion for the outdoors.
In my experience, commercial dance resources do not work that well as outdoor resources. Even the ones that are sold as “outdoor toys” tend to get soggy in wet weather. Living in Scotland, this is not a good thing.
So I thought I would have fun designing my own resources. Last year I blogged about making kites from plastic bags. I simply adapted the principle to dance. After all flying kites is a form a dancing with the wind.
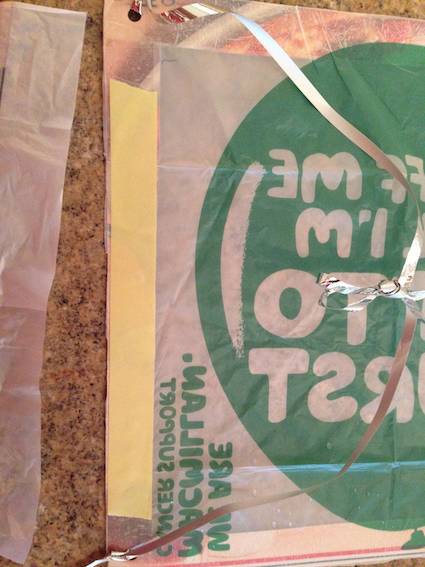
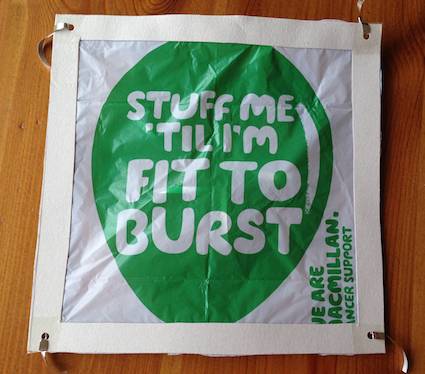
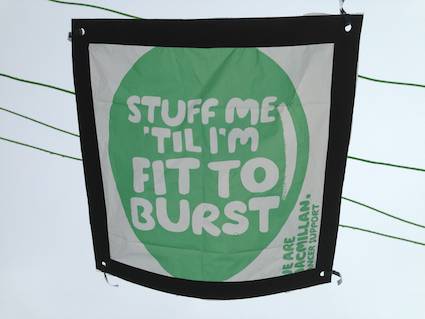
In the photos above, I am making a hand held kite from a pizza box. I decided that the MacMillan charity bag had a good caption and made this a feature. You can see that when it is held up to the light, the caption shows up beautifully. I attached the plastic bag with double-sided sticky tape to the pizza cardboard square outline. The string is wrapping ribbon. I find this is robust and can withstand the weather well.
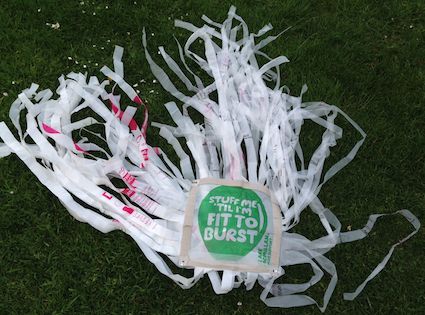
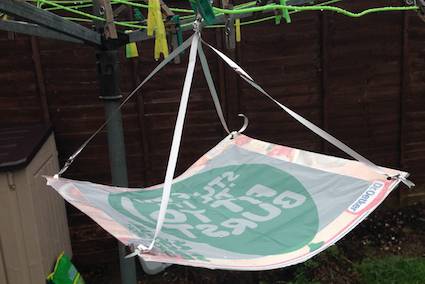
Then, I added bags to each side of the square, also using double-sided sticky tape. As you can see, it looks a bit like I’ve given it a wild wig effect. And yes – you can wear this on your head. I did have fun. I reckon it could be stuck on top of a hat too.
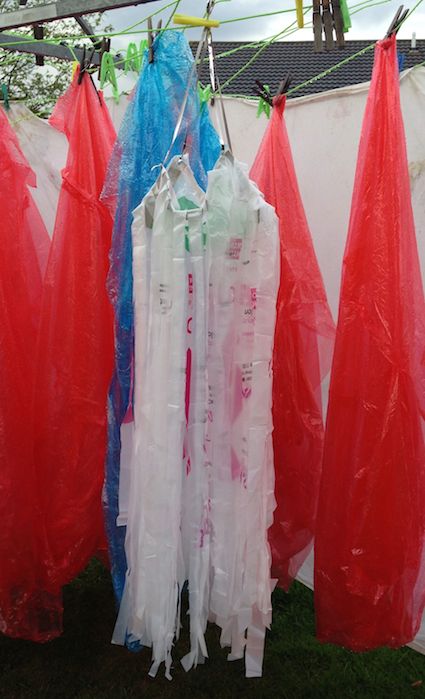
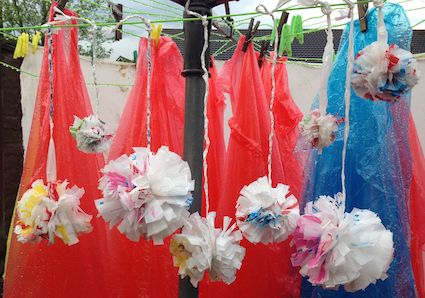
The dance twilight training session was a rather wet affair with a serious downpour at one point. This was a perfect testing ground. As you can see in the photo above, I had quite a few ponchos to dry out. The cardboard went soggy but held up well thanks to the putting sellotape in each corner prior to punching a hole. If I was doing this again, I’d use a thin piece of plastic.
The kite is held and children run about with it or just wave it around – or both at the same time.
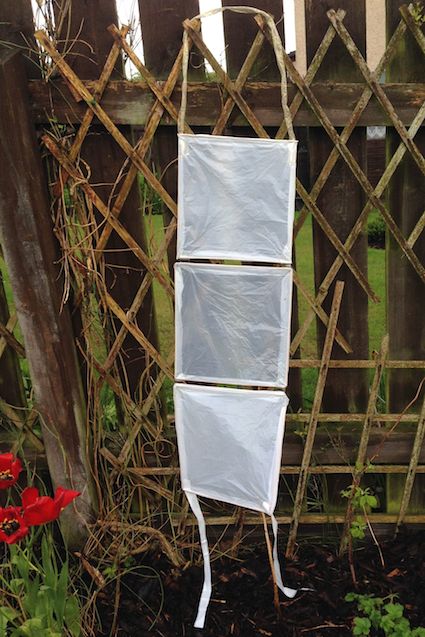
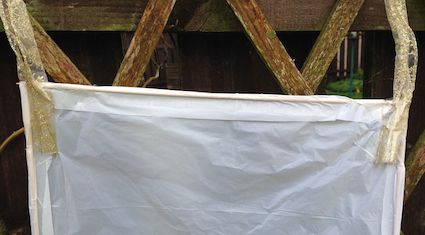
I also made another form of hand held kite as can be seen above. This is more fragile and a bit more tricky to make as balance matters. Garden canes work well for the sticks which are held in place with double-sided sticky tape. Each square is attached to the next with sellotape.
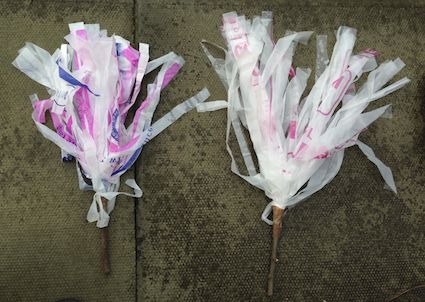
Next, I simply copied the traditional cheer leaders’ sticks. Again, the bags were wrapped onto the stick with double-sided sticky tape. This is a job a very young child could do with adult support. Also, it’s an opportunity to practise scissor skills and experiencing the smooth glide of cutting plastic bags. Parcel tape was used to seal the edges and this seems to have done the trick in terms of surviving the wet weather.
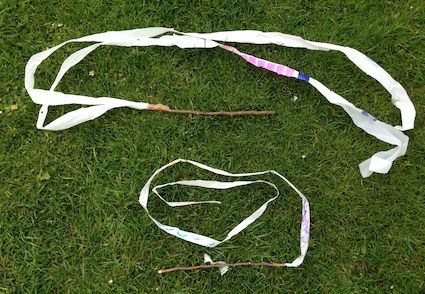
No dance kit is complete without ribbon sticks. Look at the photo below. One has a double ribbon, the other a single strand. Both work well and good for comparing. Both work when wet. I did try decorating the single strand with acrylic paint but it didn’t work very well. I reckon most young children could learn how to make a ribbon stick too. The best bit is that they don’t seem to knot up much. They never need washing. If they break, you cut yourself another length of plastic bag and attach it onto a stick with parcel tape.
Finally, my admin assistant, Lesley, also got into the fun of repurposing the bags. Look at the range of pompoms hanging on the line! These are particularly versatile in that you can deliberately dip these in water and whirl them around. Or they can be used as paint dippers and splatters. Or they can be swung freely in the air.
As well as being pretty weatherproof, the other discovery we made with all the resources is a lovely sound effect too…
It’s razzle-dazzle time!
What dance resources could you make… ?
This blog post was originally published in May 2014.


Brilliant! Was just wondering if there was something I could do with my pile of charity bags. 🙂