
Last year, one of my projects at school was to create a sandpit in one part of the grounds, just outside an Additional Support Needs class. The children had been very fond of the sand in a circle of wooden log stumps. It was clear from their constant interest in the sand, that a bigger pit would be a welcome addition to the outdoor space.
For eight months, I had an inadvertent experiment going on. A set of double tyres filled with soil had been set aside. Children enjoyed standing and walking along them at break times. From this, and observations in a previous school, I’ve always been quite surprised that tyres filled with soil don’t topple or get knocked over. It’s not that they couldn’t be. It’s just that it has yet to happen in any school where I’ve worked.
My other reason for this experiment, is that I was interested to see if there was any damage to the underlying tarmac. This school is a “public-private partnership” one (PPP School) where we need permission to make changes to the outside space. Damaging the tarmac is not okay. The good news is that no harm had been done. There was a wet mark for a day and then this disappeared. The experimental tyres were moved to become part of the sandpit border.
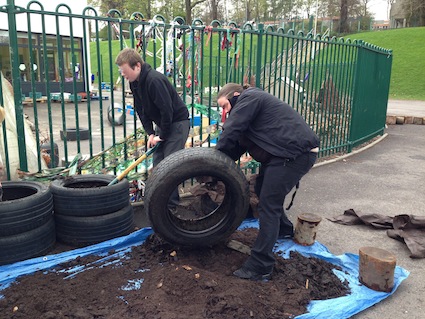
A local garage kindly donated tyres. I asked for pairs of tyres that would fit on top of each other. That was quite a skill, pairing these up! They were laid out to mark the boundary of the sandpit. The area and shape was deliberately sized to fit a tarp being laid over the top. This was my gesture to appease the janitors. From a health and safety perspective, the need for a cover is debatable. I tend to find that sandpits which are uncovered and played in daily are in much healthier states than those which get covered and left to fester.
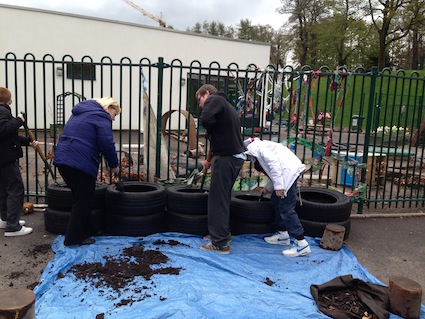
Next, the tyres were filled with topsoil. This involves putting the mulching cloth at the bottom of the tyre to prevent the soil touching the tarmac. What this means is that the tyres can be lifted a little without the soil falling out. This can be useful (I speak from experience). The mulching cloth is wrapped around the join between the two tyres. This means that soil won’t fall out of this crack either and I think helps keep the structure a little more stable. After this palaver, the soil is carefully put into the tyres. The P2 children were very helpful here as were the P6 volunteers.
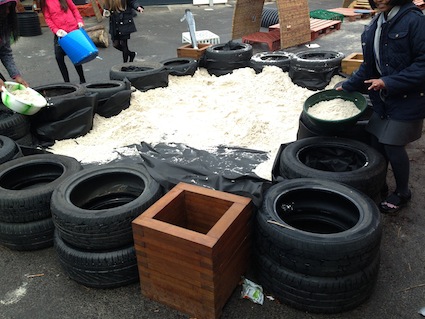
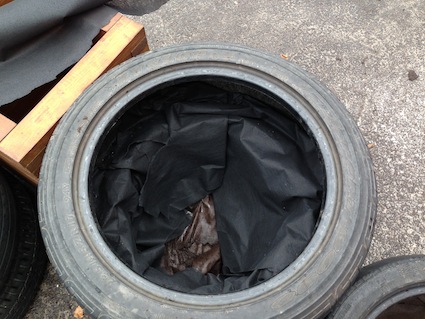
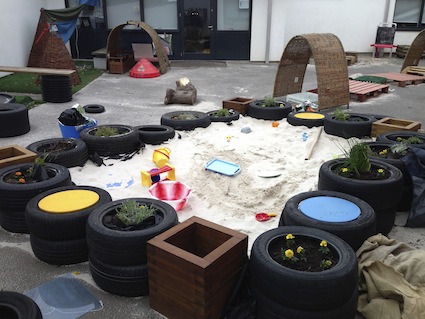
More mulching cloth is placed on the ground and up the sides of the tyres. If you look carefully at the above photo you can see the material just below the white-green bowl on the left and on the ground where the sand hasn’t covered it. You can buy this material by the metre in garden centres. It is cheap and porous. So water can exit through this material. The sandpit is sited on a very slight slope so drainage is not an issue.
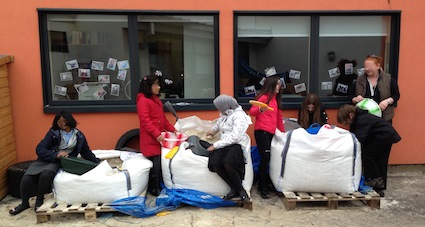
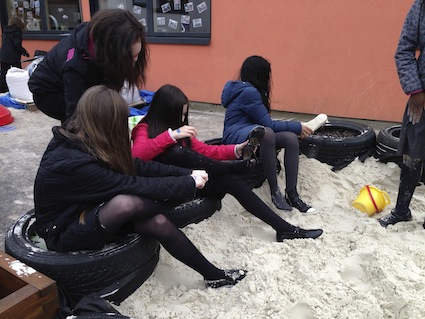
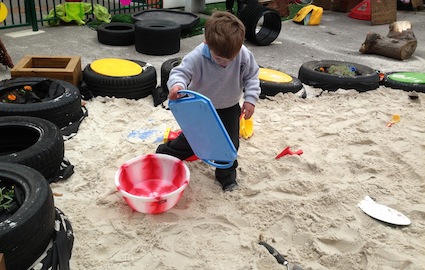
As there were three tonnes of sand to move, we enlisted the help of around eight P6 volunteers who really grafted hard one afternoon. I was very keen for children to be actively involved in making the sandpit as the ownership levels are much higher. It was quite a messy job with the sand getting into tights, socks and shoes!
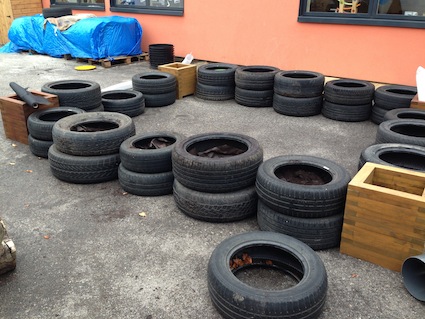
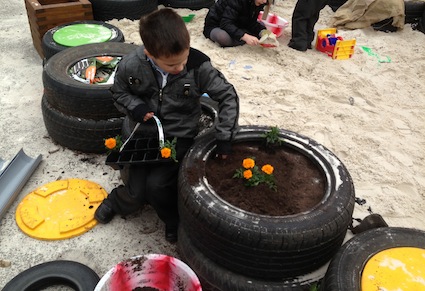
The P2 class helped plant up the tyres which had soil. The plants were also freebies in that I had some Tesco vouchers which I spent at a nearby garden centre. Not every tyre had soil in it – some had sand. One set of tyres was empty! The reason for this was to allow a child with mobility challenges to access the sandpit as and when he wished.
This is the nearly-finished result! The yellow and blue circles are the access points (er, that was the theory, but the children didn’t really see this and tend just to pop in all over the place). The square boxes were left empty to insert pulley posts and fill up. They’ve turned out to be used for storage instead.
As you can imagine, it didn’t look pristine for very long! But the sand pit has been well-played in. When I was visiting the school last week, I saw that there was a lot less sand in the pit now and sadly the plants really didn’t survive! I take that as a good sign that the sand pit is being well used.
What I hope is that if you are interested in having a sandpit then the tyre approach is definitely a budget approach which works well in most places. We did look at how the sandpit was going to be managed. The guidance in the Grounds for Learning Sand Advice Sheet is valuable for this purpose. Also, several years ago, I blogged about some of the concerns people have about outdoor sandpits. This post may also be useful. Gardenstown Playgroup also created a similar sandpit with a nice variation on the mud kitchen theme.
Oh and before I forget, here’s a photo of what the sand pit looks like with the tarp on top. It’s held down with a few spare tyres.

Finally this blog post is part of an international outdoor play blog hop organised by the dynamic Amy Ahola from Child Central Station. Enjoy all the posts that others have contributed and please go and visit the other super Early Years blogs listed below:
P is for Preschooler
Powered by Linky Tools
Click here to enter your link and view this Linky Tools list…


Love this, it’s like a step by step guide, passing this onto my primary colleagues.
Thanks Kierna
What I still need to work out, is how to create nice spill zones around sandpits to reduce the spread of sand. Any ideas welcome!
Best wishes
Juliet
If you work that please let me know! I reckon most of our sand gets tramped out on their wellies! But I suppose something like those duck boards for the bath would work if all around the sandpit.