
When I advised schools and preschools about planters, containers and raised beds, I would do this from a practical learning and play perspective. There are some advantages to container planting:
- A well-loved and looked after planter, pot or container can transform the look and feel of an outdoor space or school grounds, especially ones which are mainly asphalt or wet pour.
- Children are less likely to walk across a raised bed as it’s at a different height to the surface.
- A container doesn’t have to be used for plants. Big ones are sometimes rugged enough to withstand children climbing in and out of them as wee play nook. I once worked with a P6 class that took boxes outside as reading dens – each child had their own mini reading space!
My advice varies according to specific needs of the children and the space, but there are matters I ask practitioners to consider including the following:
1. Height of containers
Make sure containers in outdoor spaces are low enough for children to reach or use for gardening purposes. Variety is good:
- Toddlers may pull themselves up on lower containers.
- Babies need access at ground level so the raised bed may be simply to prevent a child crawling in – but having gardening spaces for crawling children matter too.
The container below has edible plants and is located just beside the access to the outdoor space.It is one of the first things a child sees when entering the outdoor space. What plants would your children want to have in such a container?
2. Variety of shapes and sizes of containers
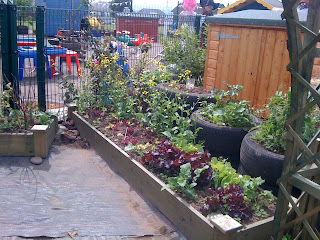
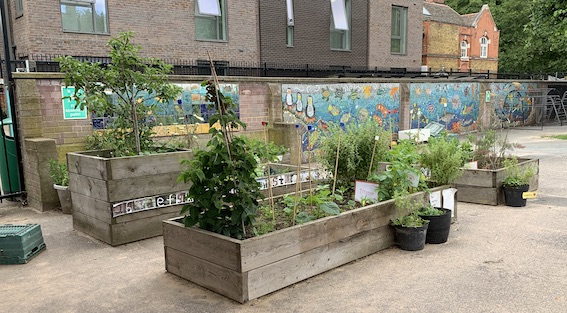
This leads to comparative work, discussions about similarities and differences and investigative and exploratory play. Below the containers have been used for different sorts of plants, with the edible ones in the lower raised bed, closer to the path and more accessible.
3. Width of raised beds
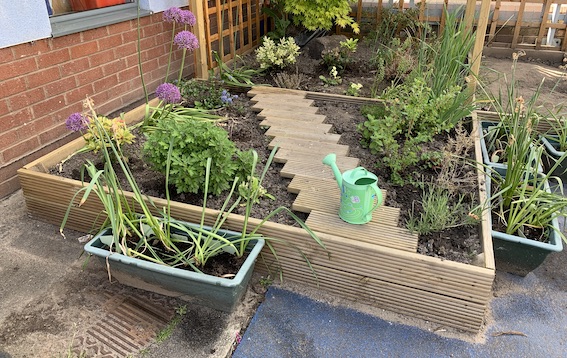
Make the width narrow enough to avoid creating a strip down the middle or a square in the centre that children can’t access. Narrow containers work well for access. If you only have big containers then plant shrubs or species that need little maintenance in the centre. In the photo below, I love the addition of the zigzag so that children can access the plants but it also acts as a wee path.
4. Spacing of containers and raised beds
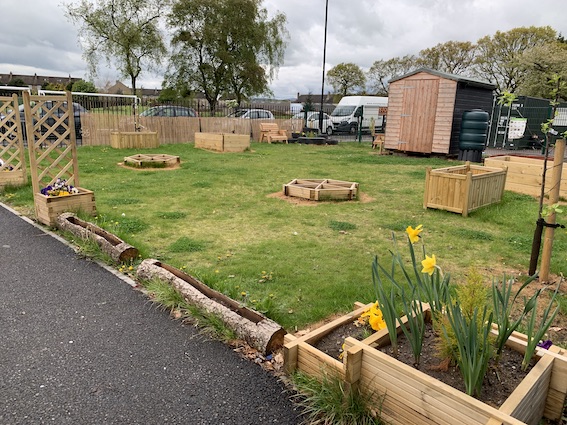
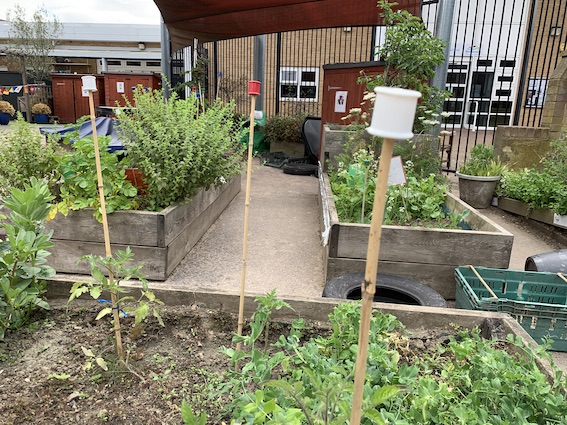
When a large group or whole class is outside gardening, there are health and safety considerations about working in confined spaces with tools. The raised beds needs to be spaced far enough apart to allow for the safe use of tools whilst enabling as many children as possible to work in the garden area. Below, the layout is spacious.

The spacing also needs to take account of accessibility considerations, e.g. by a child who is less mobile or who may be using a wheelchair. In the photo below the garden area is wheelchair accessible.
5. The design features of raised beds
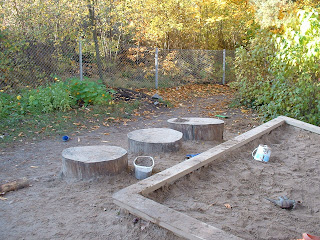
Ones which have a broad edge offer higher play value. Children and adults can sit on the edge, walk along, balance and jump off a broad edge. They can be used for small world play as a wee track for cars, a stomping path for dinosaurs, etc. In the photo below, the principle can be seen for a sandpit!
6. Sustainability
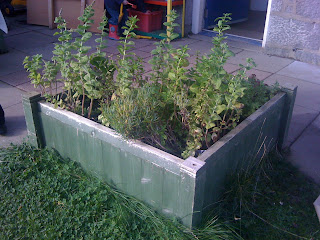
The use of locally sourced natural materials as much as possible and recycled materials too. Below an old kitchen sink has been re-used:

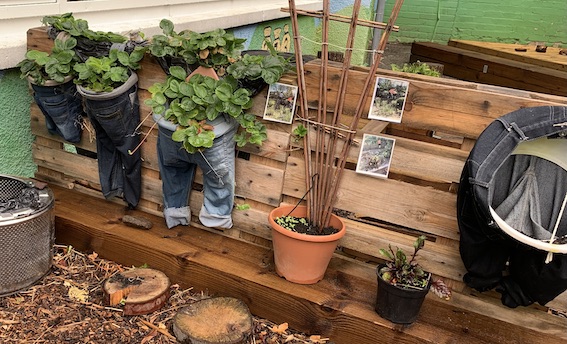
Worn out wellies are handy in that each child can take his or her boot home to look after the plant during the holidays. Remember to put a hole or too in each foot to allow water to drain out! Also choose plants which are happy to be grown in such confined spaces. You may need to experiment to find what works best in your location and climate.

The same advice can be applied to other small planters. The plants in the jeans bowl seem to be flourishing. The legs have been closed up. Also if you look at the blank pair on the far right, you can see that old washing up bowls have been used to hold the jeans in place which is a clever move!
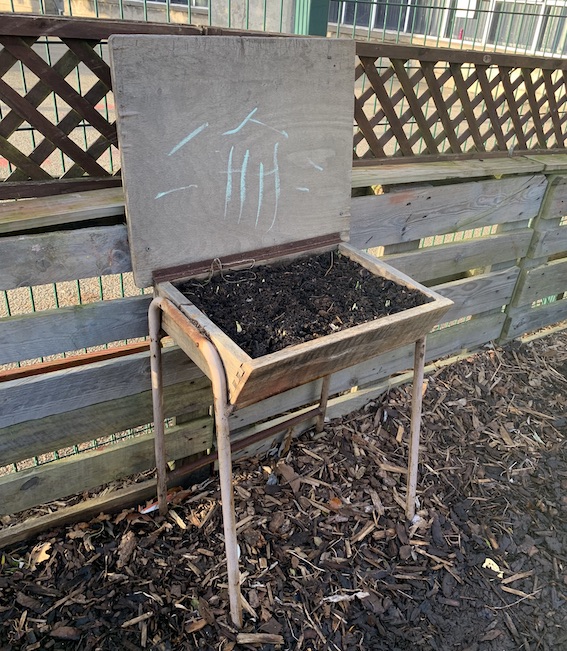
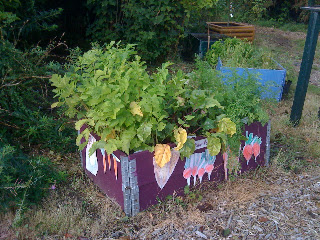
I also liked the repurposing of an old school desk. This is a very shallow bed so best used for quick grow plants such as salad leaves or herbs such as thyme. The backboard has also become space for mark making and is carefully secured.
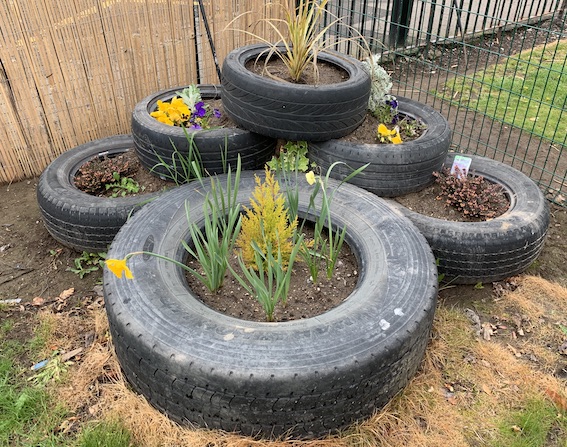
Tyres can be used to make stackable planters. Please see the blog post about tyres if you want to know more about the ins and outs of using tyres in schools or nurseries. The most important thing is to ensure the tyres are secured. Some local authorities have expectations about these being sited a minimum distance from a school building. Follow any local guidance that exists.
The raised bed below is created from stackable wood palettes. These were made by Woodshop that re-uses scrap wood from industry. The wood has been painted and the vegetables growing are depicted on the side of the planter.
7. Defining boundaries with planters
The gardening area must complement rather than compete or conflict with other play and learning zones within an outdoor area. For example planting a bed of nettles in the middle of a space where children like to cycle or play with balls may create a conflict of interests. In the photo below, the containers were placed around the boundary of the outdoor space to prevent balls and other objects rolling under the fence and out of the space.

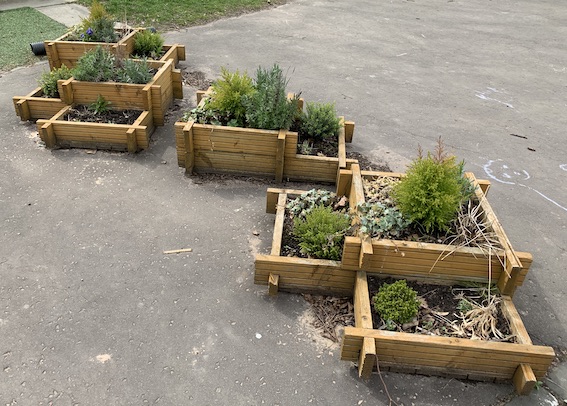
Containers can also be used to define spaces and provide soft boundaries on asphalt surfaces. The beauty of this is that the layout can be changed as needed. I loved the wee spaces between the raised beds below that allow children to pass through.
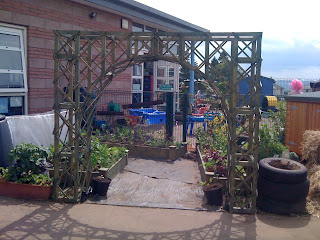
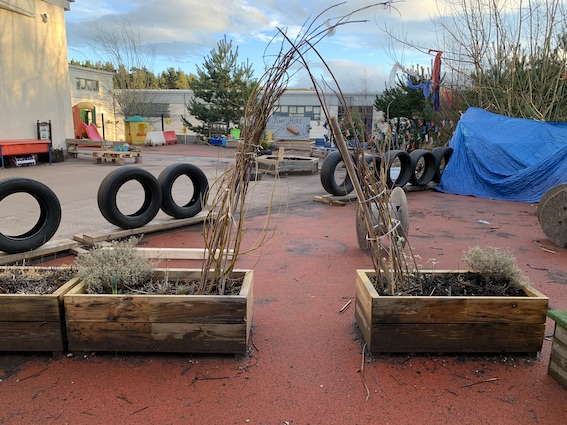
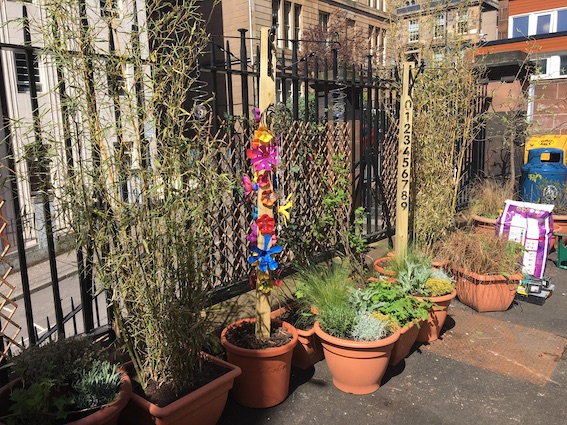
But you can make wider spaces. Using willow can provide an archway and a clearly defined entrance. Just bear in mind that willow and other large plants will be limited in their growth by the size of the container – which is not always a bad thing.
8. Surfacing
The surface of ground around planters, containers and raised beds. This needs consideration too, in order to avoid muddy areas which are slippy when children are working with tools and to ensure access for all. You may have noticed but almost all the photos in this blog post are of asphalt outdoor spaces and school grounds so usually this isn’t an issue 🙂
9. Aesthetics
Outdoor play spaces and school grounds need to be welcoming and attractive places that are irresistible to children, bearing in mind that children’s perceptions can differ to adults. I love the use of wishy barrel planters and flowers that have been used here – Harry Roberts Nursery has softened and naturalised the asphalt through its use of planters and raised beds.
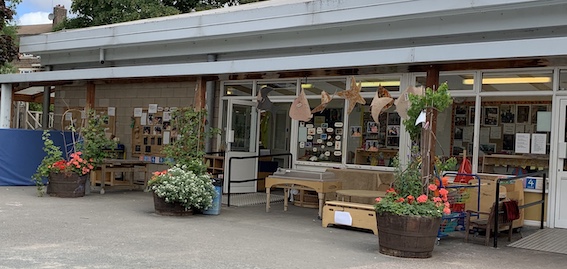
Below is a photo from the same nursery – taken from child’s height:
The use of similar colours and shapes of pots can add to the aesthetics – this is very subjective as I’ve seen fabulous displays using random collections of pots too.
10. Variety of purpose
Sometimes, bespoke containers can be used in creative ways. I’m fond of raised beds put on slopes. This means that the bed gets progressively higher as you move down the slope. This means children of different heights can access the bed at a height that suits them! I also rather like this “container” which is more of a seat than a planter!

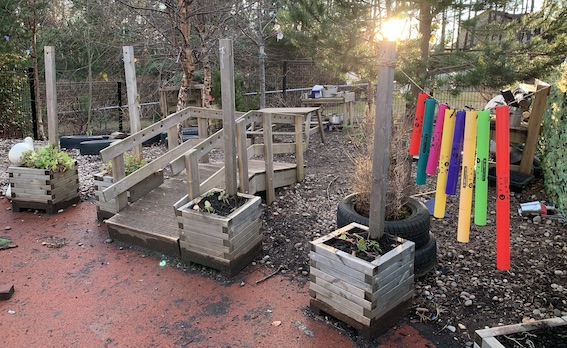
Another clever approach has been to add posts into planters so they can be used for hanging things. Check out this section of Hill of Banchory School Nursery’s outdoor space where the washing lines are used as a mini music hanging space.
The criteria above can be used with children who are undertaking a gardening project to decide what planters, containers and raised beds are needed and where to source the materials. This can help children make practical choices and take an interest in what is going to grow there!
This blog post was originally published in April 2011. Many thanks to all the nurseries and schools that feature in this post – Westpark Nursery, Inveraray Primary, Hill of Banchory Nursery, Garnetbank Primary, Bramble Brae Nursery. Some of the photos are dated so please don’t expect these settings to still feature these planters, etc.


You’re practical advice is always so helpful Juliet. Even if it is something I don’t need right at this moment, I file it away and always come back to it. Thanks for passing it all on!
The emphasis on sustainability and reusing materials to create unique planters is a fantastic approach. It not only adds character to the garden but also aligns with eco-friendly practices, which is essential in today’s world. I’m particularly fond of the idea of incorporating sensory elements into planters, engaging all our senses while we enjoy the beauty of our gardens. Your creativity shines through in every suggestion.
Thank you for sharing your gardening wisdom. Your article has left me excited to roll up my sleeves and start a new planting project, all while being mindful of the environment.
Happy gardening,
Sandra