The mathematical potential of a stick never ceases to amaze me. Back in 2014, I had a bright idea which is remarkably simple and came about owing to overhearing someone mention colour coding.
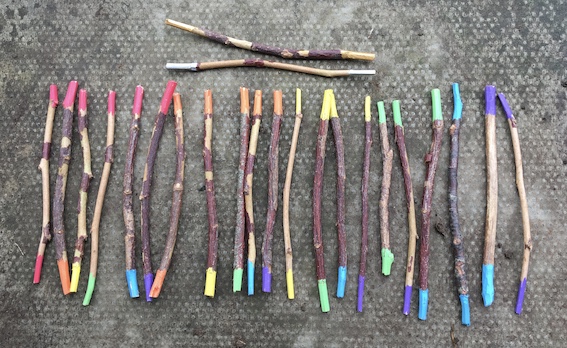
You get some sticks. You paint the ends different colours. You play with them. You explore the potential for maths. That’s it. Experiment!
Now if you have given this post a quick glance and assumed it’s for the Early Years then stop. Look again. These sticks can be used in a variety of challenging ways well beyond the Early Years. Getting an older class to make these sticks and develop the logic pattern is a practical maths challenge in itself.
Since the original publication of this blog post, I’ve seen alternatives to making them using shop-bought willow sticks and electrical tape. In my experience, this is a slow tedious method and it can be hard to ensure that your sticks have been sustainably harvested.
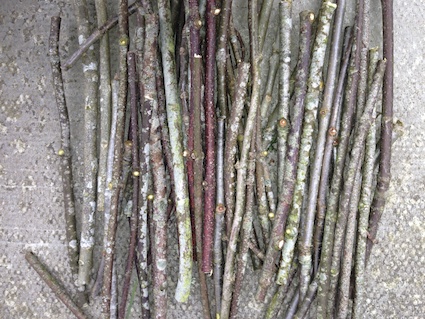
I decided to go for pencil sized twigs. So I cut them in winter from the shrubs and bushes in my garden. The idea here is that the sticks are stronger and will last longer as the wood is living when they were cut. However there’s no reason why children can’t go and gather sticks which have fallen on the ground – they are more prone to breaking but that doesn’t matter too much. This ensures a higher degree of ownership. You could use lolly (popsicle) sticks but they are a poor relative. Believe me.
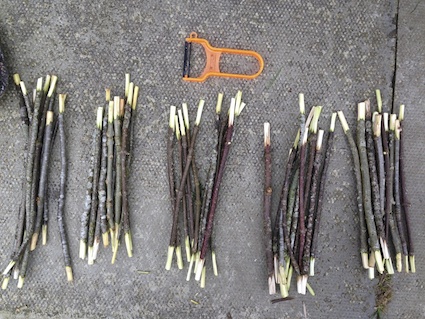
The ends need to be peeled. This is a job for a potato peeler. It’s as easy as peeling carrots provided there are no knots in the green wood. Little children can easily manage this task with support to get going. With dead wood the job is more difficult. I wouldn’t bother peeling in this instance.
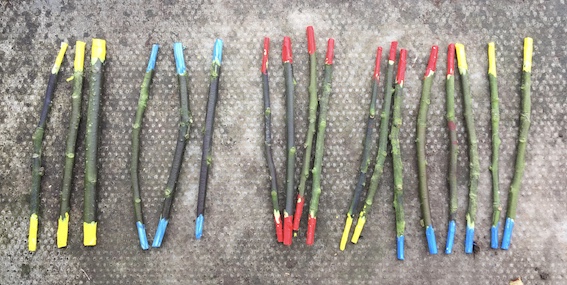
From here the sticks can be painted at either end. I went for rainbow colours as they work well together and used acrylic deco marker pens. If you want a more eco friendly alternative then use paint that can withstand the wear and tear of being outside. The first photo in this post shows the entire collection. It’s based on a dominoes pack. I also added in a “rogue” silver and gold stick. They are a bit like the joker in a pack of cards. Part of the attraction is that the sticks are all slightly different lengths and widths. This non-uniformity adds to the interest, challenge and creativity.
Next, just have fun. Children will play with these in different ways. With older children, encourage them to specifically consider their mathematical potential, e.g.
- Ensure groups of 4 children have at least one set of rainbow maths sticks. Ask them to chat and share ideas about their maths potential. At this point do not feed ideas to the groups. This is a time for you and other adults to listen and learn from what the children perceive and understand.
- After a few minutes, the groups should share their thoughts with other groups orally and through practical demonstration.
- Using these ideas and others supplemented by yourself, challenge each group to briefly make a maths games, problem solver or activity to do with a younger class. If needed you can add in more specific criteria, e.g. to develop their skills in addition to 20 or multiplication strategies or the concept of place value.
- Share these suggestions. The rest of the class should feedback what would work well, how to improve the suggestions and whether they are sufficiently mathematical. This may sound strange, but it’s a bit like making pizza. Whilst there’s maths in following a recipe and making pizza, it can be lost on the children if the links and the emphasis on the maths isn’t explicit.
- Write up the challenges and games and then have a session where they are shared with another class.
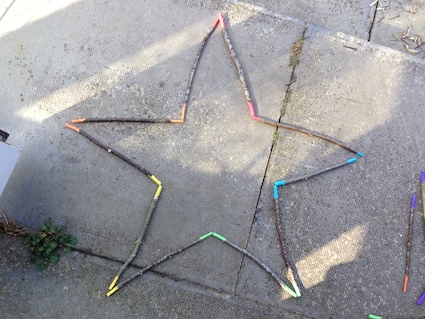
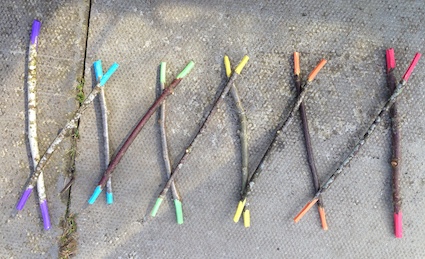
Here’s some of the things I had fun doing.In the photo below I explored the relationships between primary and secondary colours. Can you work out what I have done and how to recognise the complementary colours?
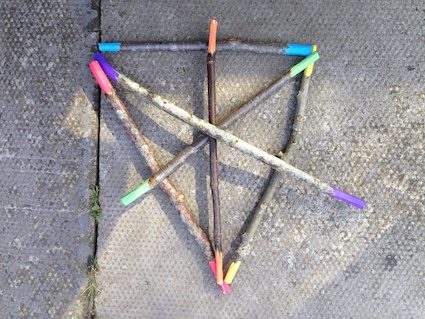
I’ve blogged about playing pick up sticks before. The addition of colour adds an extra challenge. If each colour is is assigned a numerical value, then suddenly decisions have to be made about which is the best stick to pick up. Oh! And if there are different colours at either end, then the numerical values needed added together. Alternatively, each colour can represent key numbers for place value, e.g. red = ones, orange = tens, yellow = hundreds, etc.
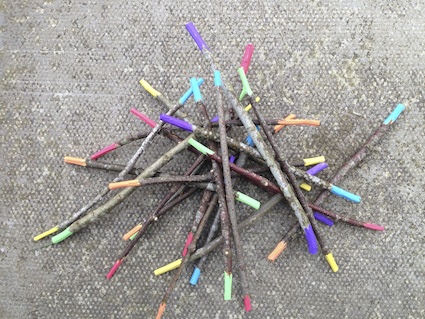
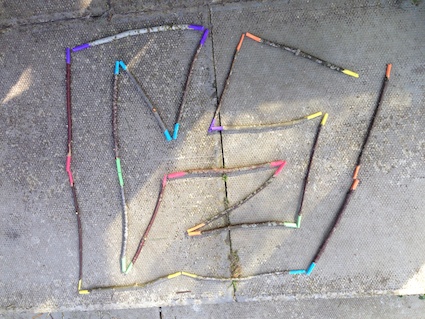
Logic games work well too. In the activity below, the placement of each stick needs to be justified. That’s the only rule, really.
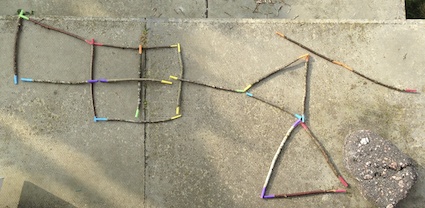
Traditional patterns and shapes can also be made. Don’t forget to play a game of colour dominoes too!
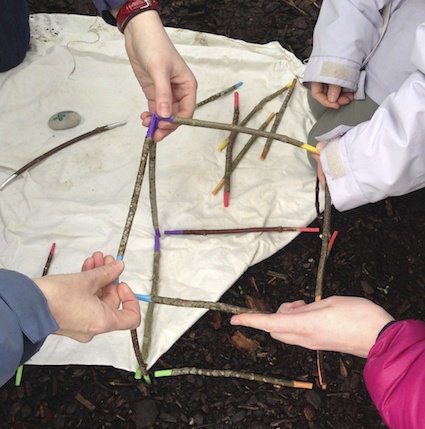
In the photo below, a group of adults were trying to make 3D skeleton structures. This is tricky if your sticks are not of a uniform length.
Early years approaches
My first explorations began with children finding their own sticks in a local park and taking them back to their setting. The following day, the children used their sticks to paint with, so the ends were coloured this way.
Young children, e.g. 3 year olds, may not see them as a pack of maths sticks. They may simply carry them around an outdoor space. Some children may turn them into mixers in a patch of mud. That doesn’t matter. Let them play with the sticks in their own way. This is the beauty of home-made sticks. It doesn’t matter if they are loved to breaking point. It’s easy to make more. You may also wish to simplify the colour schemes and to add more repeated sticks.
At some point, it can be helpful to photograph what children are doing and then take a photo of yourself or an older child making patterns with the sticks as an invitation to further explore. Likewise, simply sitting down and using the sticks in creative ways can also spark interest. Remember there is plenty of time as the children go through primary school to develop the maths potential of these sticks. We want maths outside and in to be personalised and relevant to children as our Scottish Curriculum Design Principles advocate.
Final thoughts
The versatility of the sticks continues to amaze me and the many ways children and teachers have chosen to use them. Thanks to everyone who has shared their enthusiasm with me over the years. Also many thanks to Cosy who took the concept and turned them into a beautiful resource. Their sticks are uniform in length and this also makes for interesting investigations. For example, have a look at the Stick Insect Symmetry post. Other uses have included:
- Using the uniform sticks for making graphs outside quickly.
- Getting children to partner up – they find the person with the same colour combination.
- Making body outlines and calculating the perimeter of the outline.
- Tally sticks.
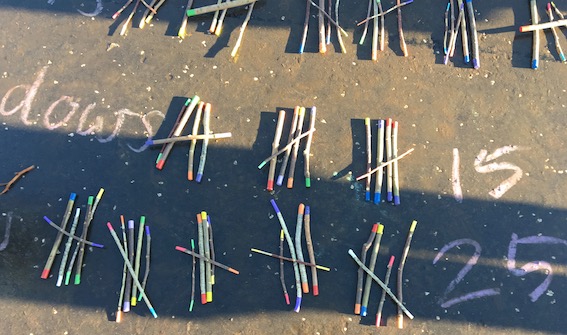
Over time the stick ends do need repainted. This is a quick job especially if you use acrylic deco marker pens. This is one of my original sets that I keep maintained – the bark is peeling off, but they are still much-loved and well-used.
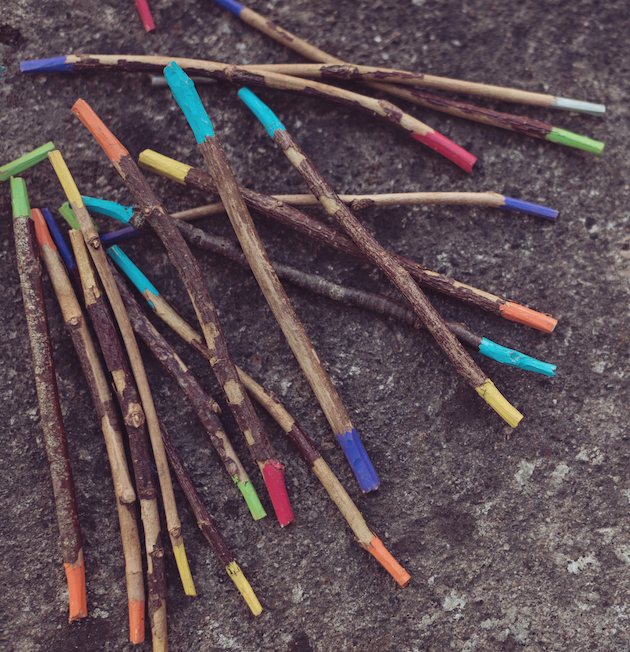
The possibilities are endless… what would your children do? And you? Go on… give them a go… You know you want to…
This blog post was originally published in April 2014









Hi Juliet – quick quezzie, what kind of paint did you use, and do you expect to have to repaint each year?
Good Q Julie – I used acrylic deco pens for all the colours except gold and silver. These were created with acrylic paint that comes in a tube.
I used this because it works well for my painted pebbles.
However… with greenwood, the wood is best left to dry first.
At the moment they are bearing up well to dew, rain and general wet conditions. I’m not anticipating that they will need much more than an annual repaint. I think this would be different if they were on bigger sticks which are used for tapping work.
With the first “set” I just gathered sticks – the bark did start peeling off some of the sticks which is why I reckon going for green wood and whittling works best.
Hope this helps.
I was fascinated reading this, you really have used your imagination for how to use these sticks and the colour matching and mixing relationships is definitely beyond the early years. Thanks for sharing some imaginative learning on Country Kids.
Great idea Juliet & I hope people see the potential for all ages not just younger children. Thanks for supporting the OPP too.
Great idea, so simple yet so effective and looks great too #countrykids
This is brilliant and I know Little Man would love to play with them. I am gonna have to make a set for home. Thanks for sharing at the Outdoor Play Party 🙂
Brilliant idea. Can’t wait to try this. I’ve got some children in mind who would love this.
Just found your blog and I think it’s great. I have linked up my stick ideas that I wrote Feb 2014. I also made some stick dominoes which I thought you may be interested in-as we were thinking along the same lines.
Nicola – indeed great minds think alike! I liked that you went for the simplicity of 3 colours and have further wetted my appetite for more logic explorations of colour and sticks.
I have a purple hazel growing in my garden – I shall be pruning this soon and some of the wood will be destined to make some of these sticks. I love the 7 colour – domino combination idea for using them to play games also.
Thanks Matthew – purple hazel will be a really good choice of wood and it’s a great use for the smaller stems.
Hi Juliet. I’ve made your sticks. Ridiculously, had never made them before. Why not? They are brilliant! Taking them to a school on Wednesday and am really looking forward to seeing how the staff, children and parents use them. So far, just made three colours and two sizes of stick. I am definitely going to have a whole selection of sets. xx
They are brilliant – and children can make them too! It’s a really good challenge for older ones to work out the pattern – if a domino system is used. I love the idea of using different sizes too. This adds value.
Loved it !
Delighted! The addition of colour lifts the learning in a particular way.