As soon as snow and freezing temperatures are forecast, gather together resources and be prepared for some wonderful spontaneous mark making moments. Think big, think miniature, think imagination and sheer creative manipulative play!
The intention of the suggestions below are about exploring snow and ice through play and following children’s interests. Our job is to ensure the tools are there, along with timely interactions that encourage children to use their hands and bodies in ways that develop the muscles, core body strength, proprioception and other senses needed for the physical act of writing, drawing or mark making.
1. Get your resources ready-to-go in advance. If necessary do some extra freezing of water to make ice, if you are not sure it is going to be cold enough outside. However, it’s a lot of fun getting children to leave containers of water outside and to find out which have frozen the next day. Handling ice requires a lot of dexterity, bravery and determination. Useful resources include:
- Natural food colouring
- Warm water – good to have in an insulated canister with a tap so children can freely access it. Have a look at the hand hygiene blog post for a DIY version in one of the photos
- Spray bottles – the action requires dexterity of the hand
- Squeeze bottles (washing up liquid type) – useful for developing grasp muscles
- Range of paint brushes of different sizes – each causes a child to have to adjust their grip
- Ice cubes and trays – good for tripod and pincer grip
- Acrylic mirrors – frost and finger work. Have a range of sizes if possible.
- Shallow baking trays, muffin trays and other containers likely to be found in a mud kitchen
- Salt in single pouring pots (but use with care as salt can damage plants)
- Felt tip pens, old card. Again, different widths of felt tip pens requires children to adjust their grip.
- Syringes and pipettes in a range of sizes. Their use involves both hands working in different ways.
- Ice scrapers – ask for donations and get a variety. Good for developing hand/grasp strength as a lot of pushing is needed to get scrapers to work well.
- Stencils – use coloured water in bottle sprays to create patterns
- Little pieces of natural materials commonly found outside. Ideally encourage your children to source these themselves rather than provide.
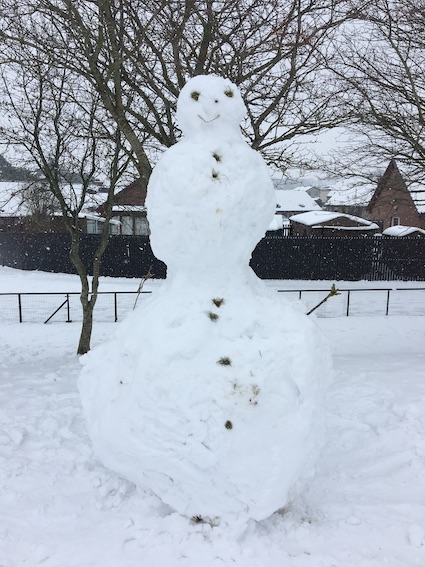
2. Build a snow sculpture
It doesn’t have to be a snowman. It could be a dragon or a mound of snow. Just think about all the scooping, transporting and packing down of snow that is required.
3. Slush kitchens. Have bowls, containers and tools for mixing so children can make their own slush puppies, fried ice and enjoy slush and snow. Don’t forget mixing rhymes such as:
- Slush in the snow. Slush in the snow.
- Stir it. Scrape it. Mix it. Bake it.
- Slush in the snow. Slush in the snow.
4. Make snowballs. Children have to scoop the snow and pack it into a ball which is wonderful hand, wrist and finger work. Throwing snowballs uses shoulder muscles and develops core body strength. Then there is the dexterity required to shake and remove the snow that ends up in all the collars and wrists and other cracks in one’s clothing.
5. Play with syringes. They have a push/pull motion which is often easier for small hands than a spray bottle. This appeals to children and adults of all ages. Great for artwork in the snow, creating targets and a range of activities, especially when coloured water is available. It’s also worth experimenting with the use of warm water.
6. Printing and stencil work with a range of objects. Enjoy pressing containers, natural materials and any found items into the snow to see the imprint made. Can you guess which print matches which item? The reverse of this is to spray coloured water over the items and then remove them to see the outline left. Talk about the size of the objects and how much space they take up on the ground.
7. Freeze lolly sticks and ice cubes made with natural food colouring added to the water. These can be used outside on snow, or cream coloured cloths and towels to rub and see the colour leave a mark.
8. Leave mirror tiles in shallow water out overnight in frosty weather. Then wait and watch the effect as they melt. What happens when you move your finger over the melting surface?
9. Magic Pictures. Make a picture using felt tip pens drawn on card or paper. As soon as it has been created, turn it upside down rub the picture into the snow. It should disappear, like magic!
10. Freeze coloured water in shallow baking trays. Using fine salt in a single hole pourer such as a salt pot, use this to create patterns on the salt. Then watch the effect. Add coloured ice cubes to create a miniature ice world.
11. Take a stick for a walk on freshly fallen snow. Then retrace your steps and see if the patterns created tell the story of what the stick got up to. This works well, if children like the book The Snowy Day by Ezra Jack Keats using what Peter got up to as an inspiration.
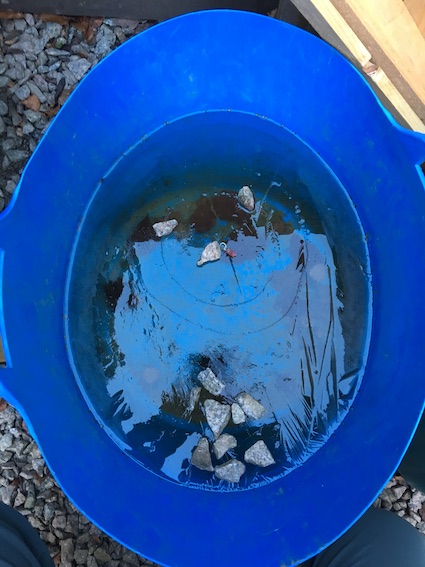
12. Mini curling competitions. Freezing temperatures are a timely opportunity to enjoy some impromptu activities. In the photo below, the trug in my garden had a layer of ice. I discovered it was perfect for hosting a mini curling event that requires a lot of finger control. A tuff tray would work well. Another alternative would be Subbuteo on ice!
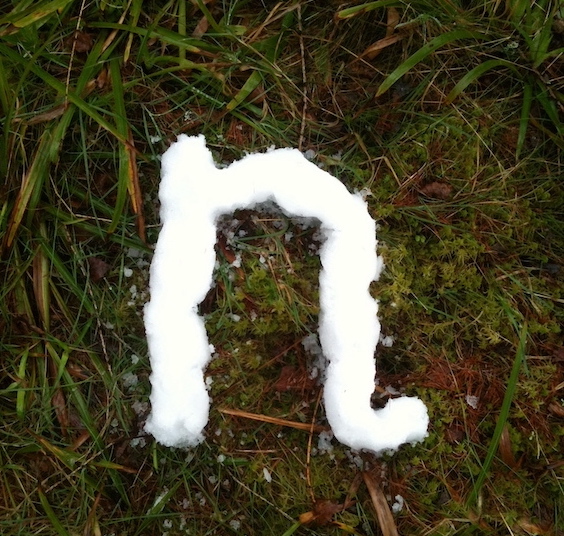
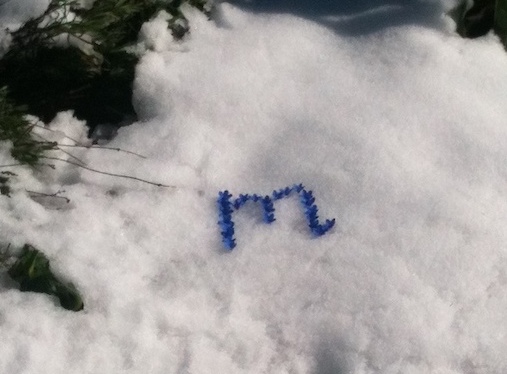
If – and only if – your children are interested in making letters then snow provides several options: get a stick and draw into snow. Use snow as a 3D medium as shown in the letter “n” below or use the snow as a backdrop for making letters from other natural objects as shown by the letter “m”.
This blog post was originally published in January 2019.